Custom Cabinetry Installation: A Step-by-Step Process


Introduction to Custom Cabinetry
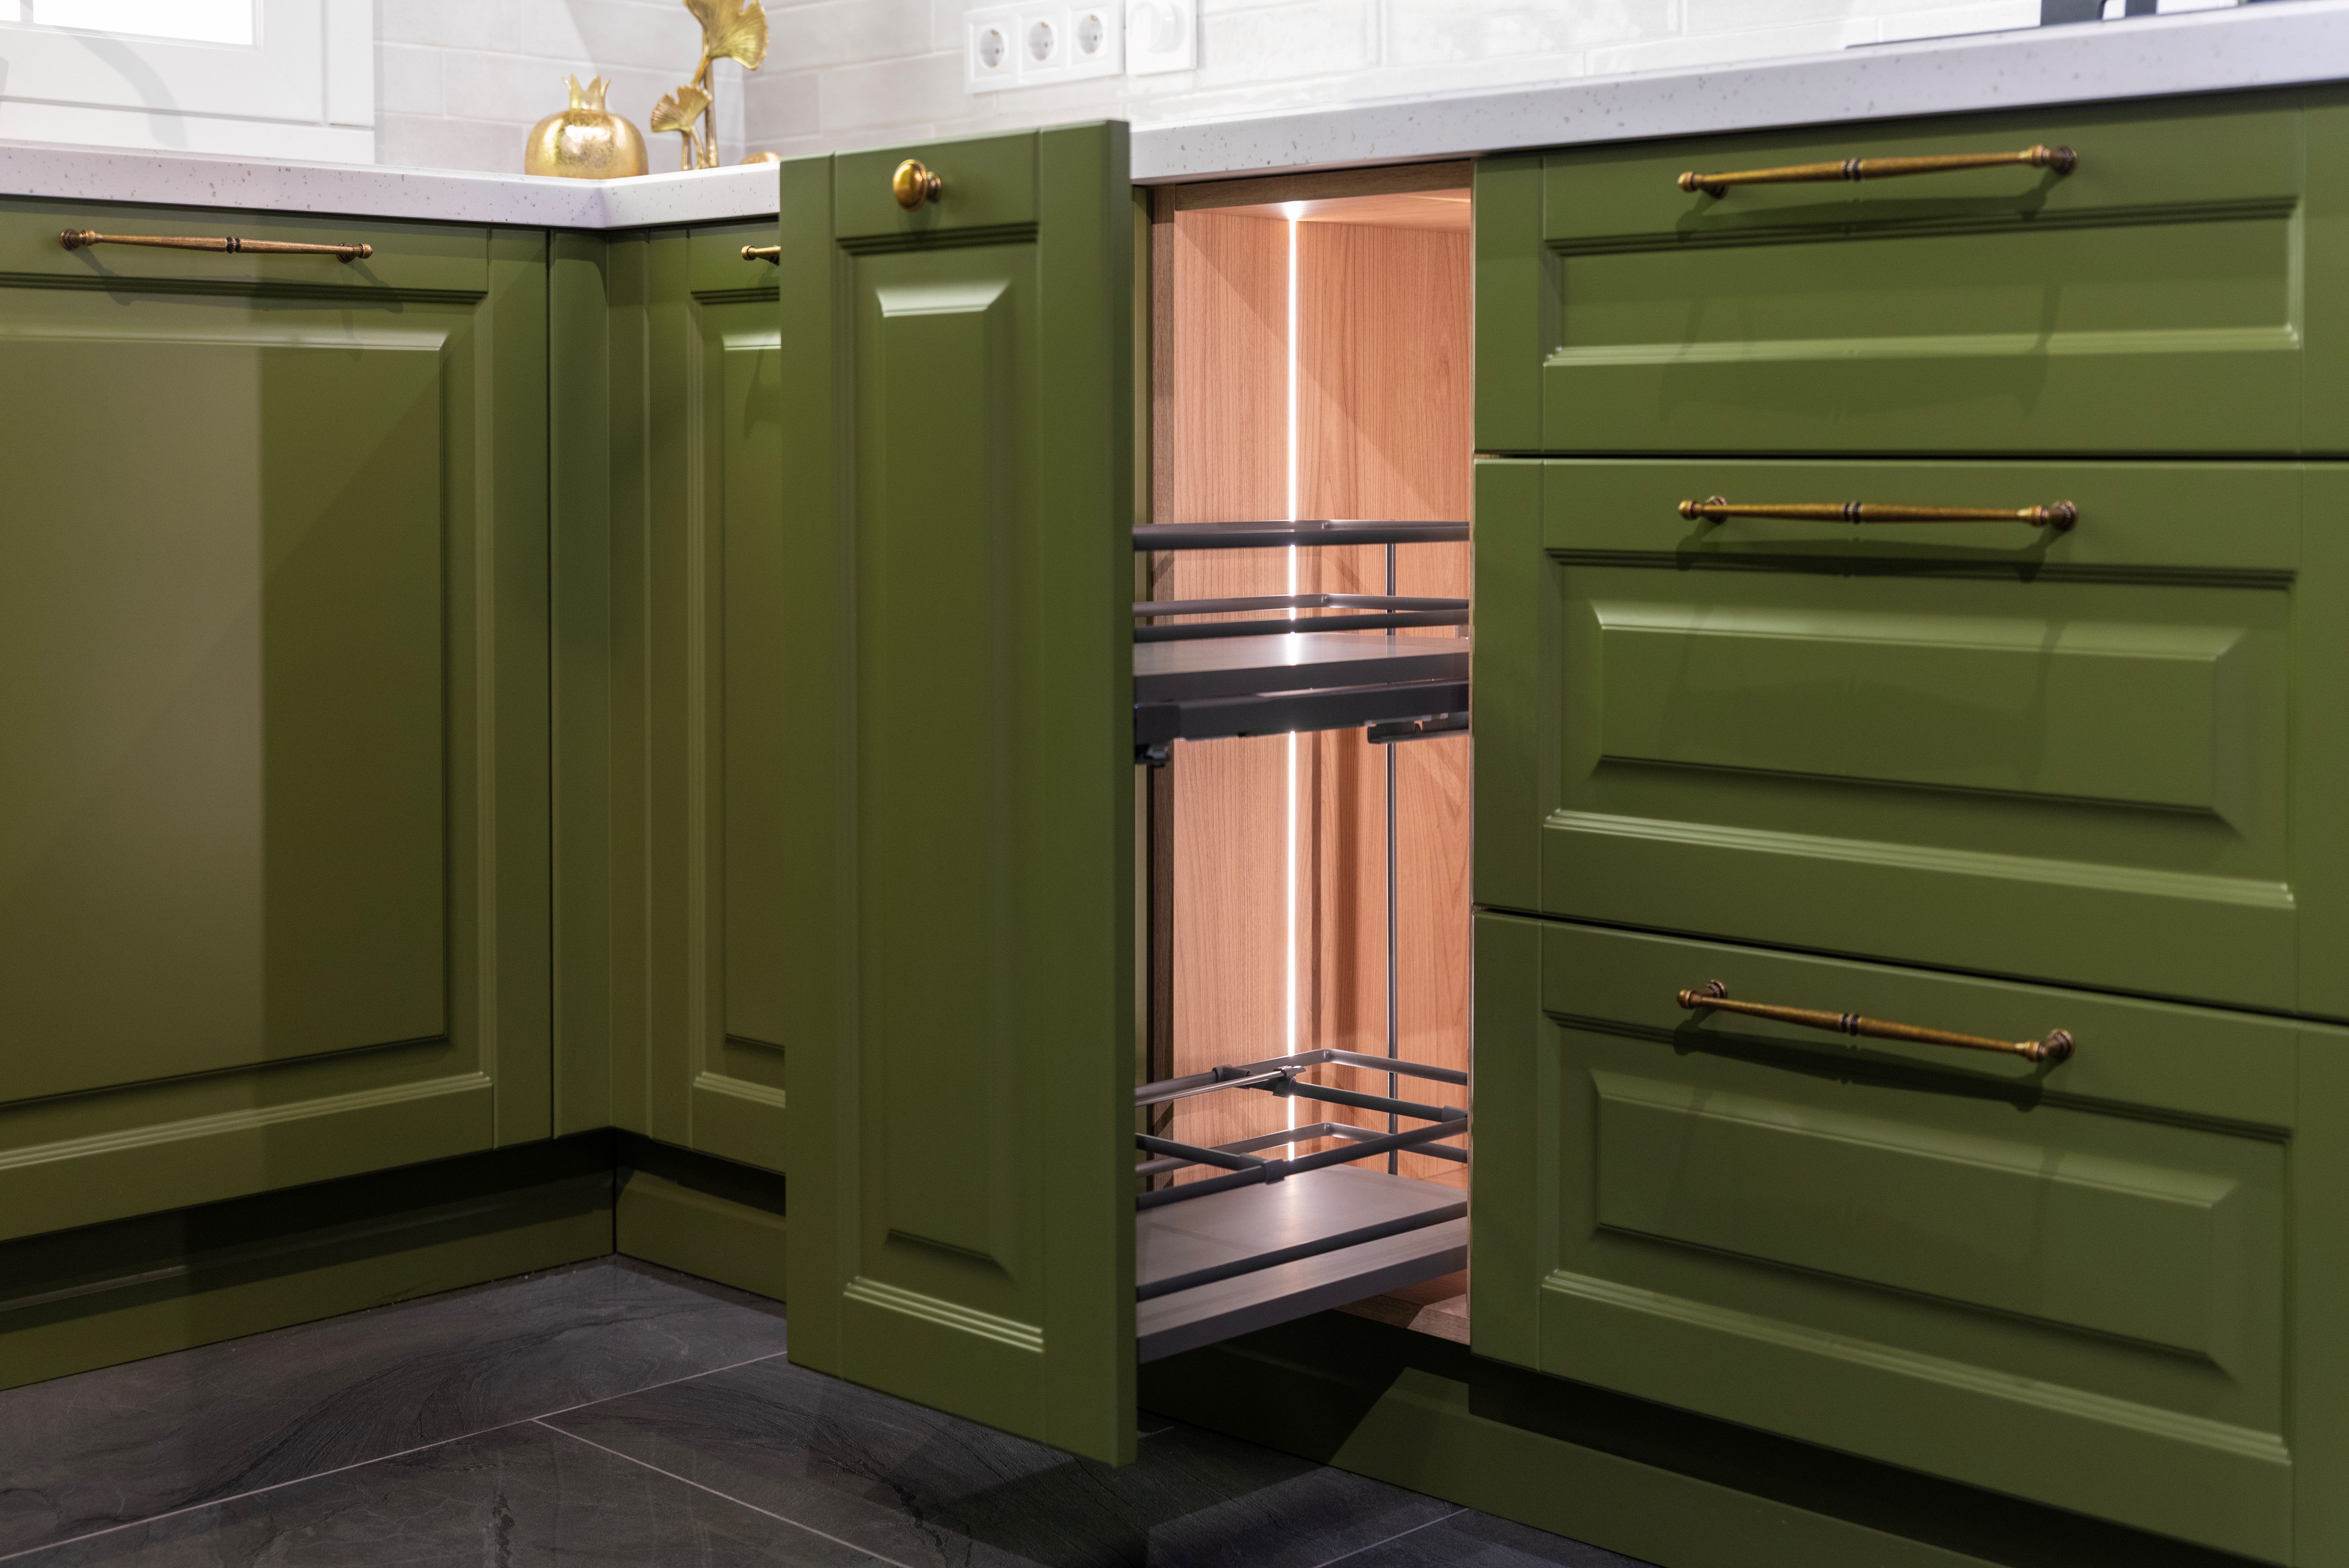
Custom cabinetry offers a unique opportunity to transform your living spaces with personalized style and functionality. Unlike standard cabinets, custom options allow you to choose materials, finishes, and configurations that perfectly match your needs and aesthetic preferences. Whether you're renovating a kitchen, bathroom, or any other space, understanding the installation process can help ensure a successful project.
Planning and Design
The first step in custom cabinetry installation is thorough planning and design. This involves collaborating with a designer to create a layout that maximizes space and meets your specific requirements. Consider factors like storage needs, style preferences, and the overall look of the room. A detailed plan is crucial for a smooth installation process.
During this stage, you'll also select materials and finishes. Options range from traditional woods to modern laminates, each offering different benefits in terms of durability and appearance. Finalizing these choices early helps avoid delays and ensures that every element aligns with your vision.
Measuring the Space
Accurate measurements are vital for custom cabinetry. Measure the dimensions of the room, noting locations of electrical outlets, plumbing, and any other elements that might affect the installation. Precision in this step prevents costly adjustments later and ensures a perfect fit.

Preparing for Installation
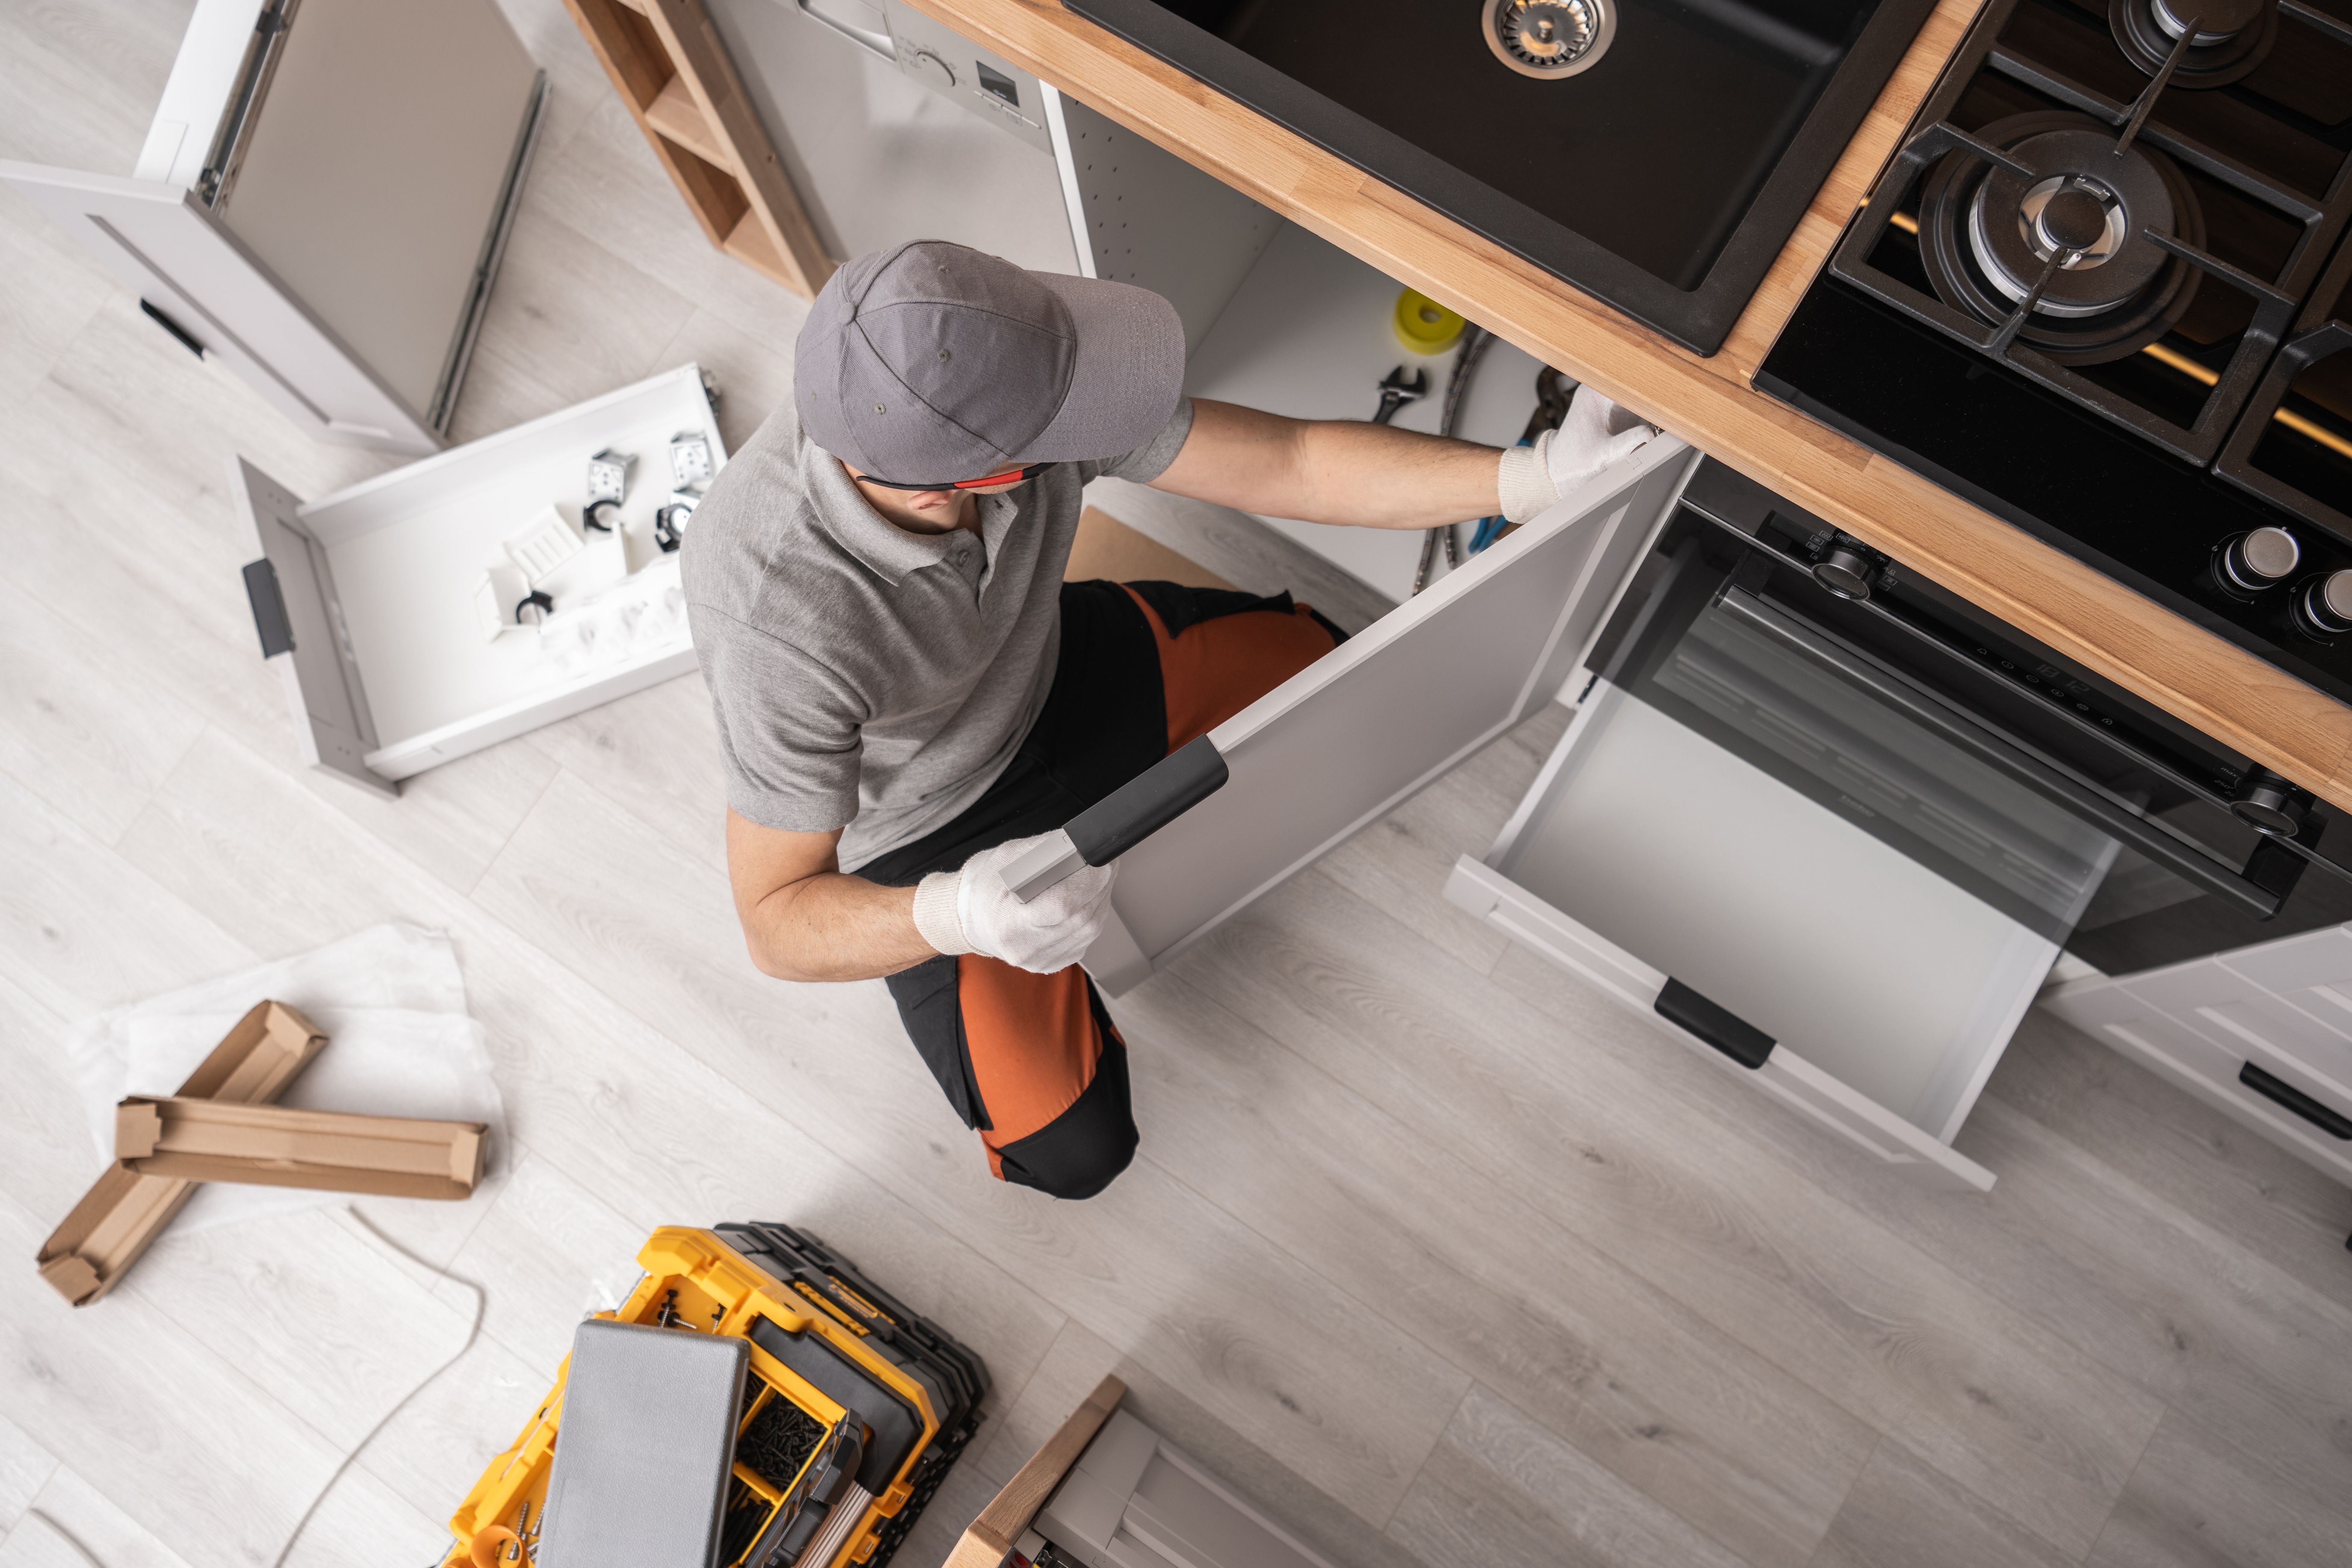
Before the installation begins, it's important to prepare the space. Clear the area of any furniture or items that might obstruct the process. If necessary, remove existing cabinetry and repair any wall or floor damage. A clean and ready environment sets the stage for a successful installation.
Having the right tools on hand is also essential. Basic tools include a drill, level, and screwdriver, but some projects may require specialized equipment. Ensuring everything is available beforehand can save time and reduce stress during the installation.
Installation Process
The installation of custom cabinetry typically begins with the base cabinets. These serve as the foundation for the upper cabinets and countertops. Carefully align and level each unit, securing them to the wall studs for stability. Once the base cabinets are in place, the upper cabinets follow, ensuring everything fits seamlessly together.
Finishing Touches
After the cabinets are installed, the focus shifts to finishing touches. This includes installing hardware such as handles and knobs, adding moldings or trim, and making any necessary adjustments to doors or drawers. These details enhance both the functionality and aesthetic of your custom cabinetry.
Finally, clean the cabinets and surrounding area to remove any dust or debris from the installation process. A thorough cleanup not only enhances the appearance but also allows you to enjoy your new space immediately.
Conclusion
Custom cabinetry installation is a rewarding process that combines creativity, precision, and skill. By following these steps and working closely with professionals, you can achieve a stunning transformation that enhances your home’s value and appeal. Whether you're aiming for a modern look or a classic feel, custom cabinets provide the flexibility to bring your vision to life.