Step-by-Step Guide to Flooring Installation: What You Need to Know


Understanding the Basics of Flooring Installation
Installing new flooring can dramatically transform the look and feel of your home. Whether you're upgrading to hardwood, laminate, tile, or carpet, understanding the process is crucial for a successful project. This step-by-step guide will walk you through the essential stages of flooring installation, ensuring that you are well-prepared for the task ahead.
Gathering the Necessary Tools and Materials
Before you start, it's important to gather all the necessary tools and materials. This preparation will help ensure that the installation process goes smoothly and efficiently. Common tools include a tape measure, utility knife, hammer, saw, and a level. Depending on the type of flooring you choose, you may also need adhesive, spacers, and underlayment.
Ensure you have enough flooring material to cover the entire area, plus an additional 10% to account for waste and mistakes. It's better to have a little extra than to run short in the middle of the project.
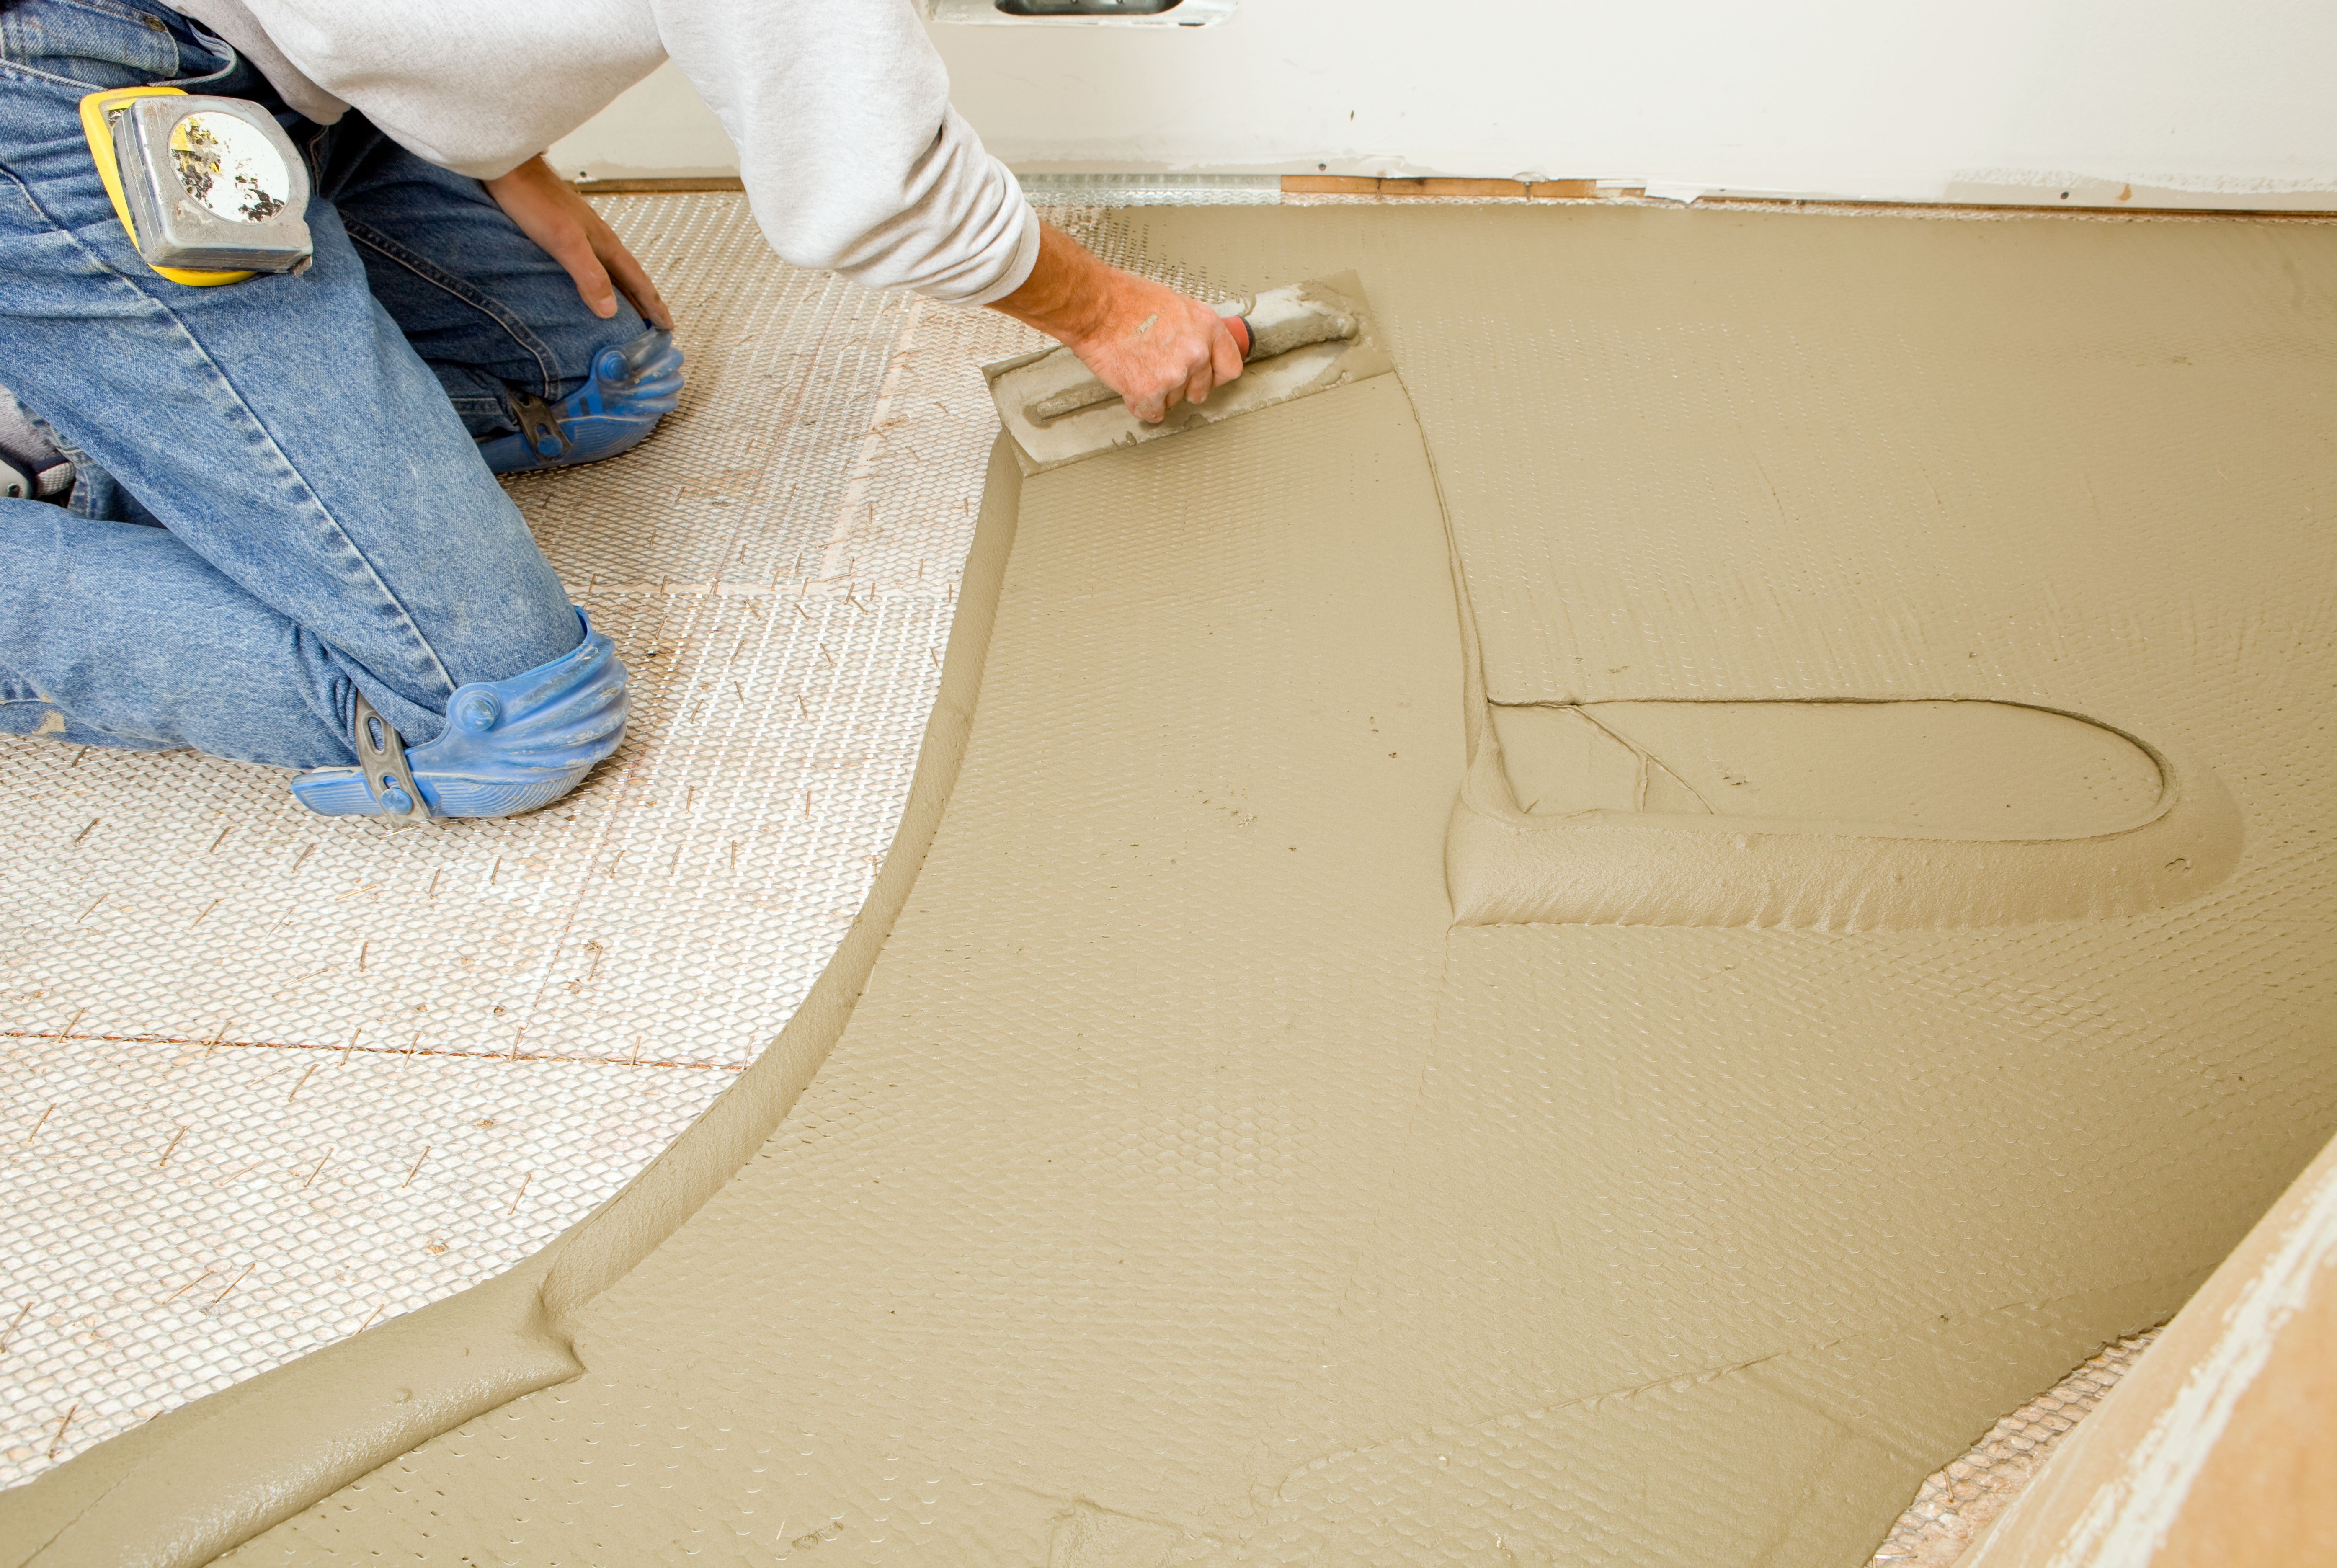
Preparing the Subfloor
The next step in the flooring installation process is preparing the subfloor. This foundation must be clean, dry, and level to guarantee the longevity and performance of your new flooring. Start by removing any old flooring, debris, or nails. Then, use a level to check for any uneven areas and sand or fill them as needed.
Installing the Underlayment
The underlayment provides a smooth surface for your flooring and acts as a moisture barrier. Roll out the underlayment across the subfloor, ensuring it covers the entire area. Use tape to secure the seams, and trim any excess material along the edges.
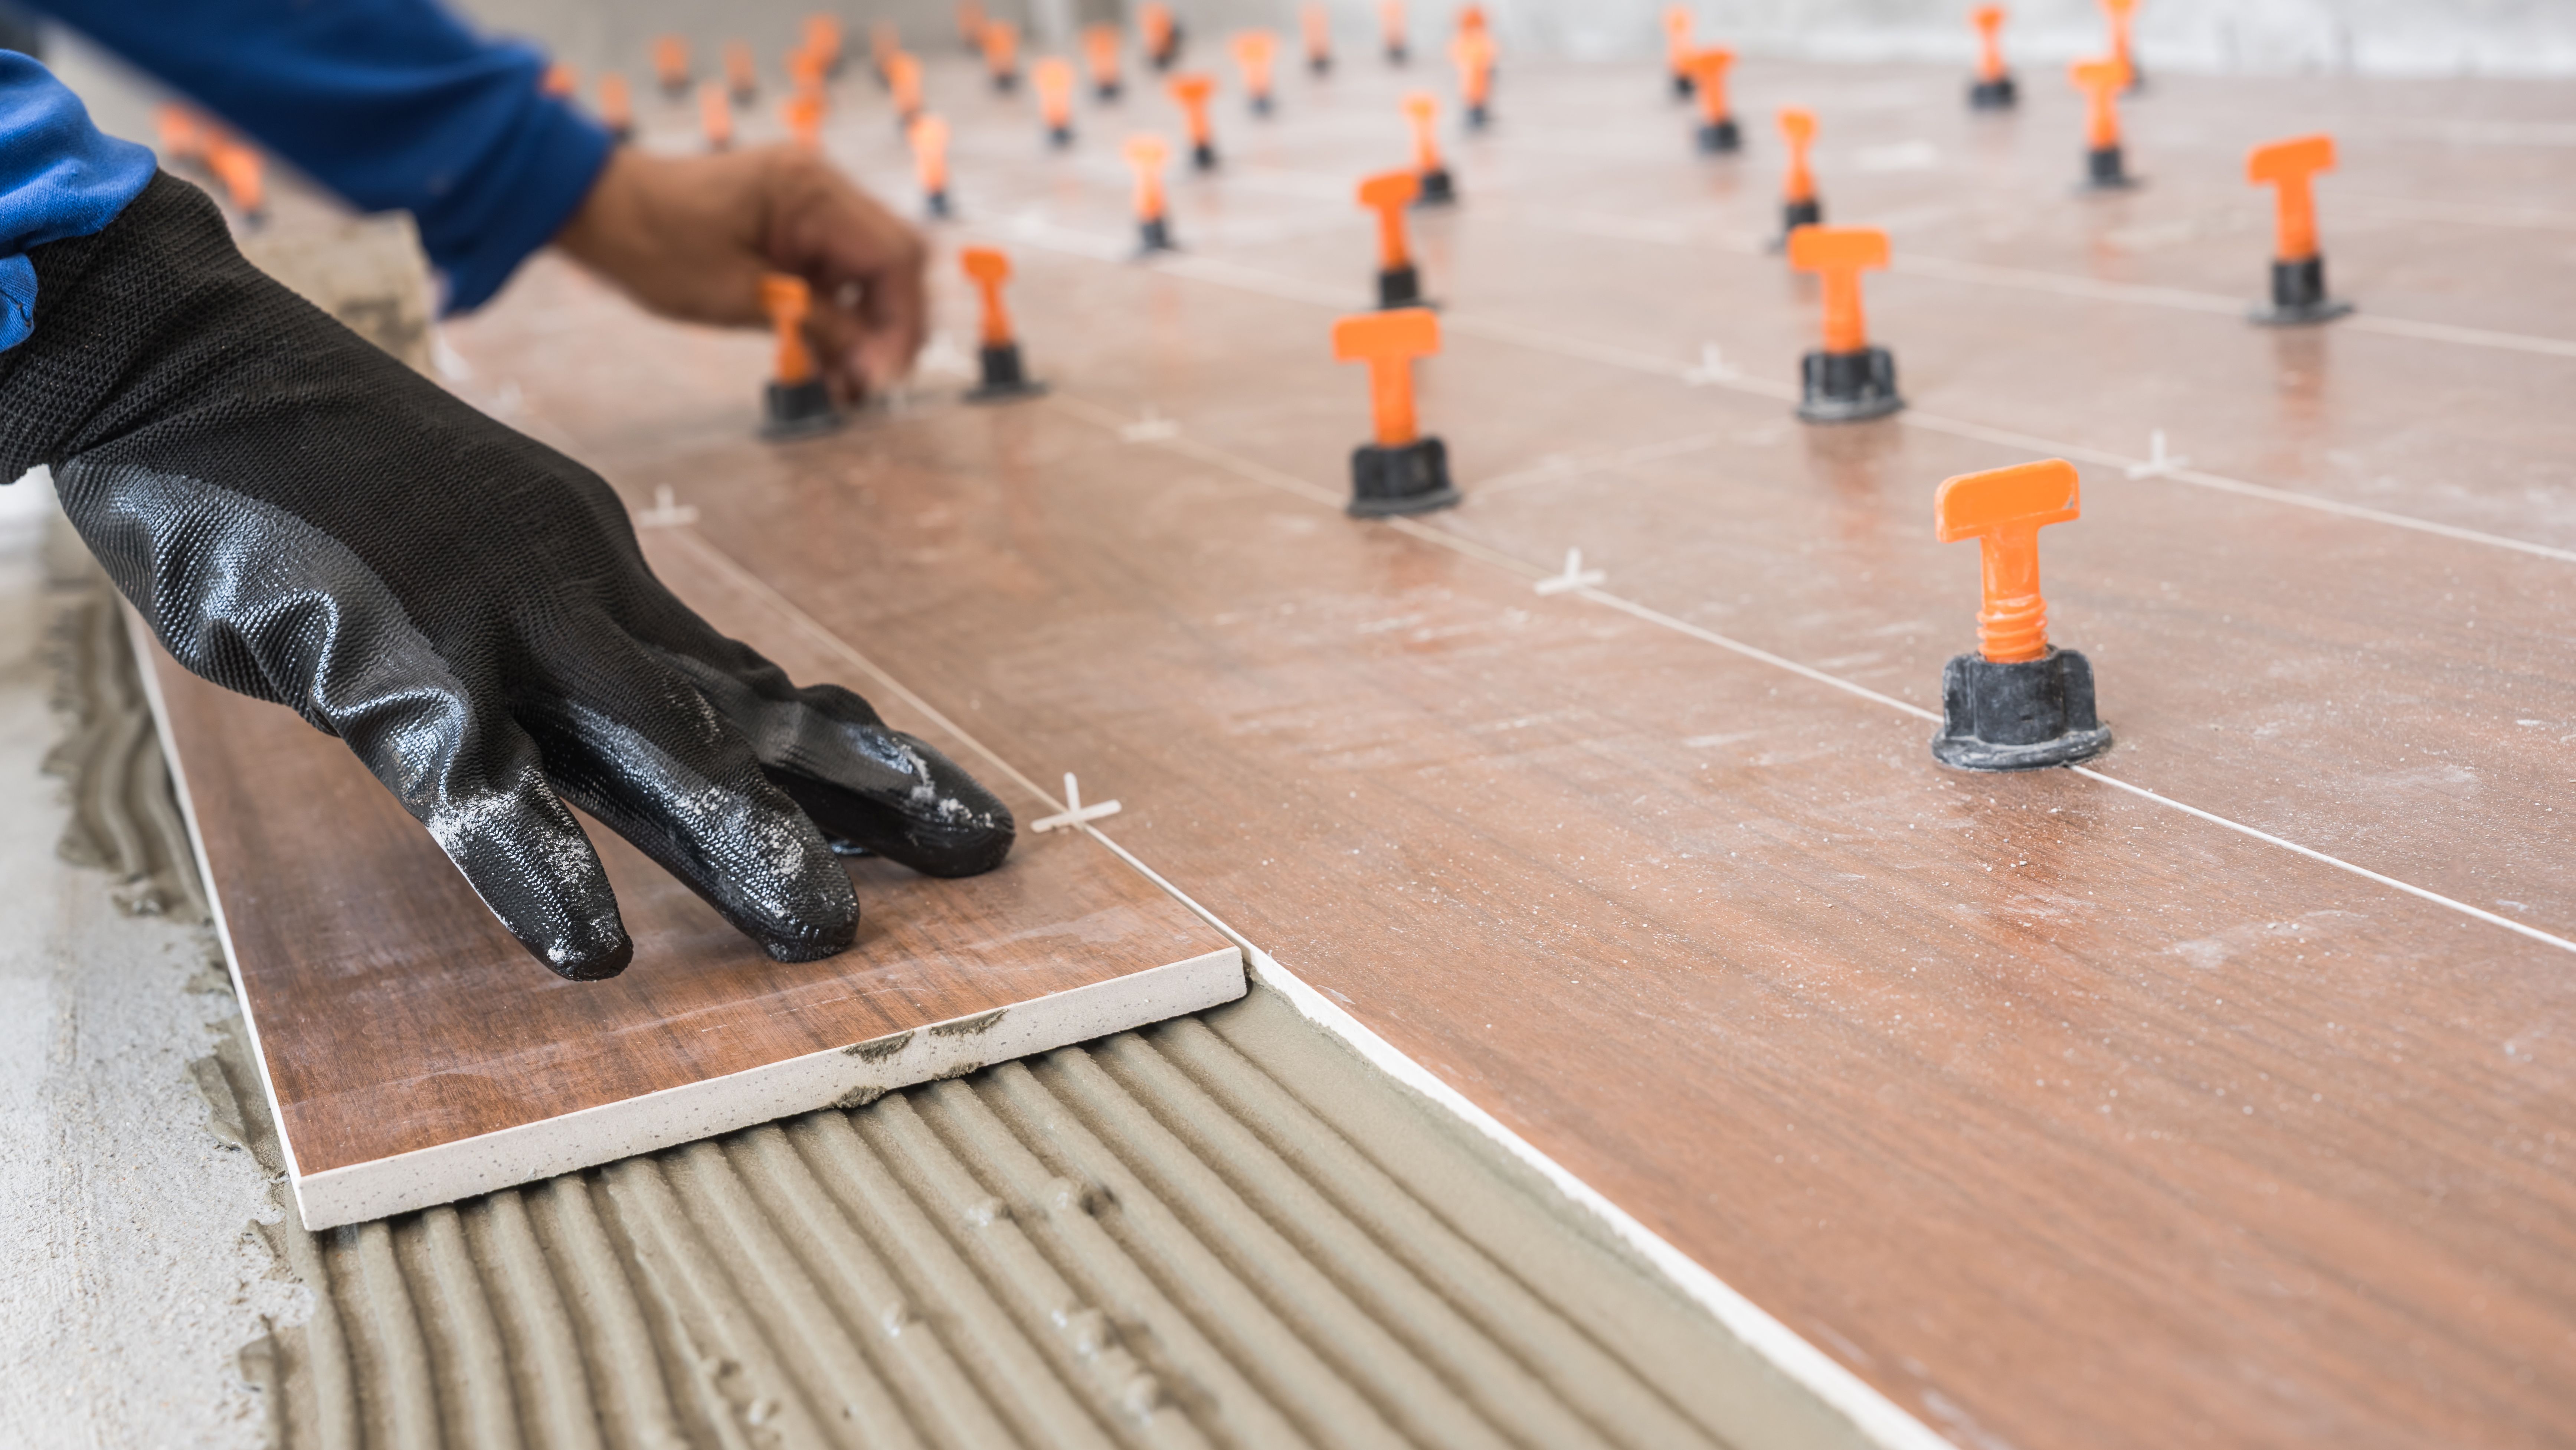
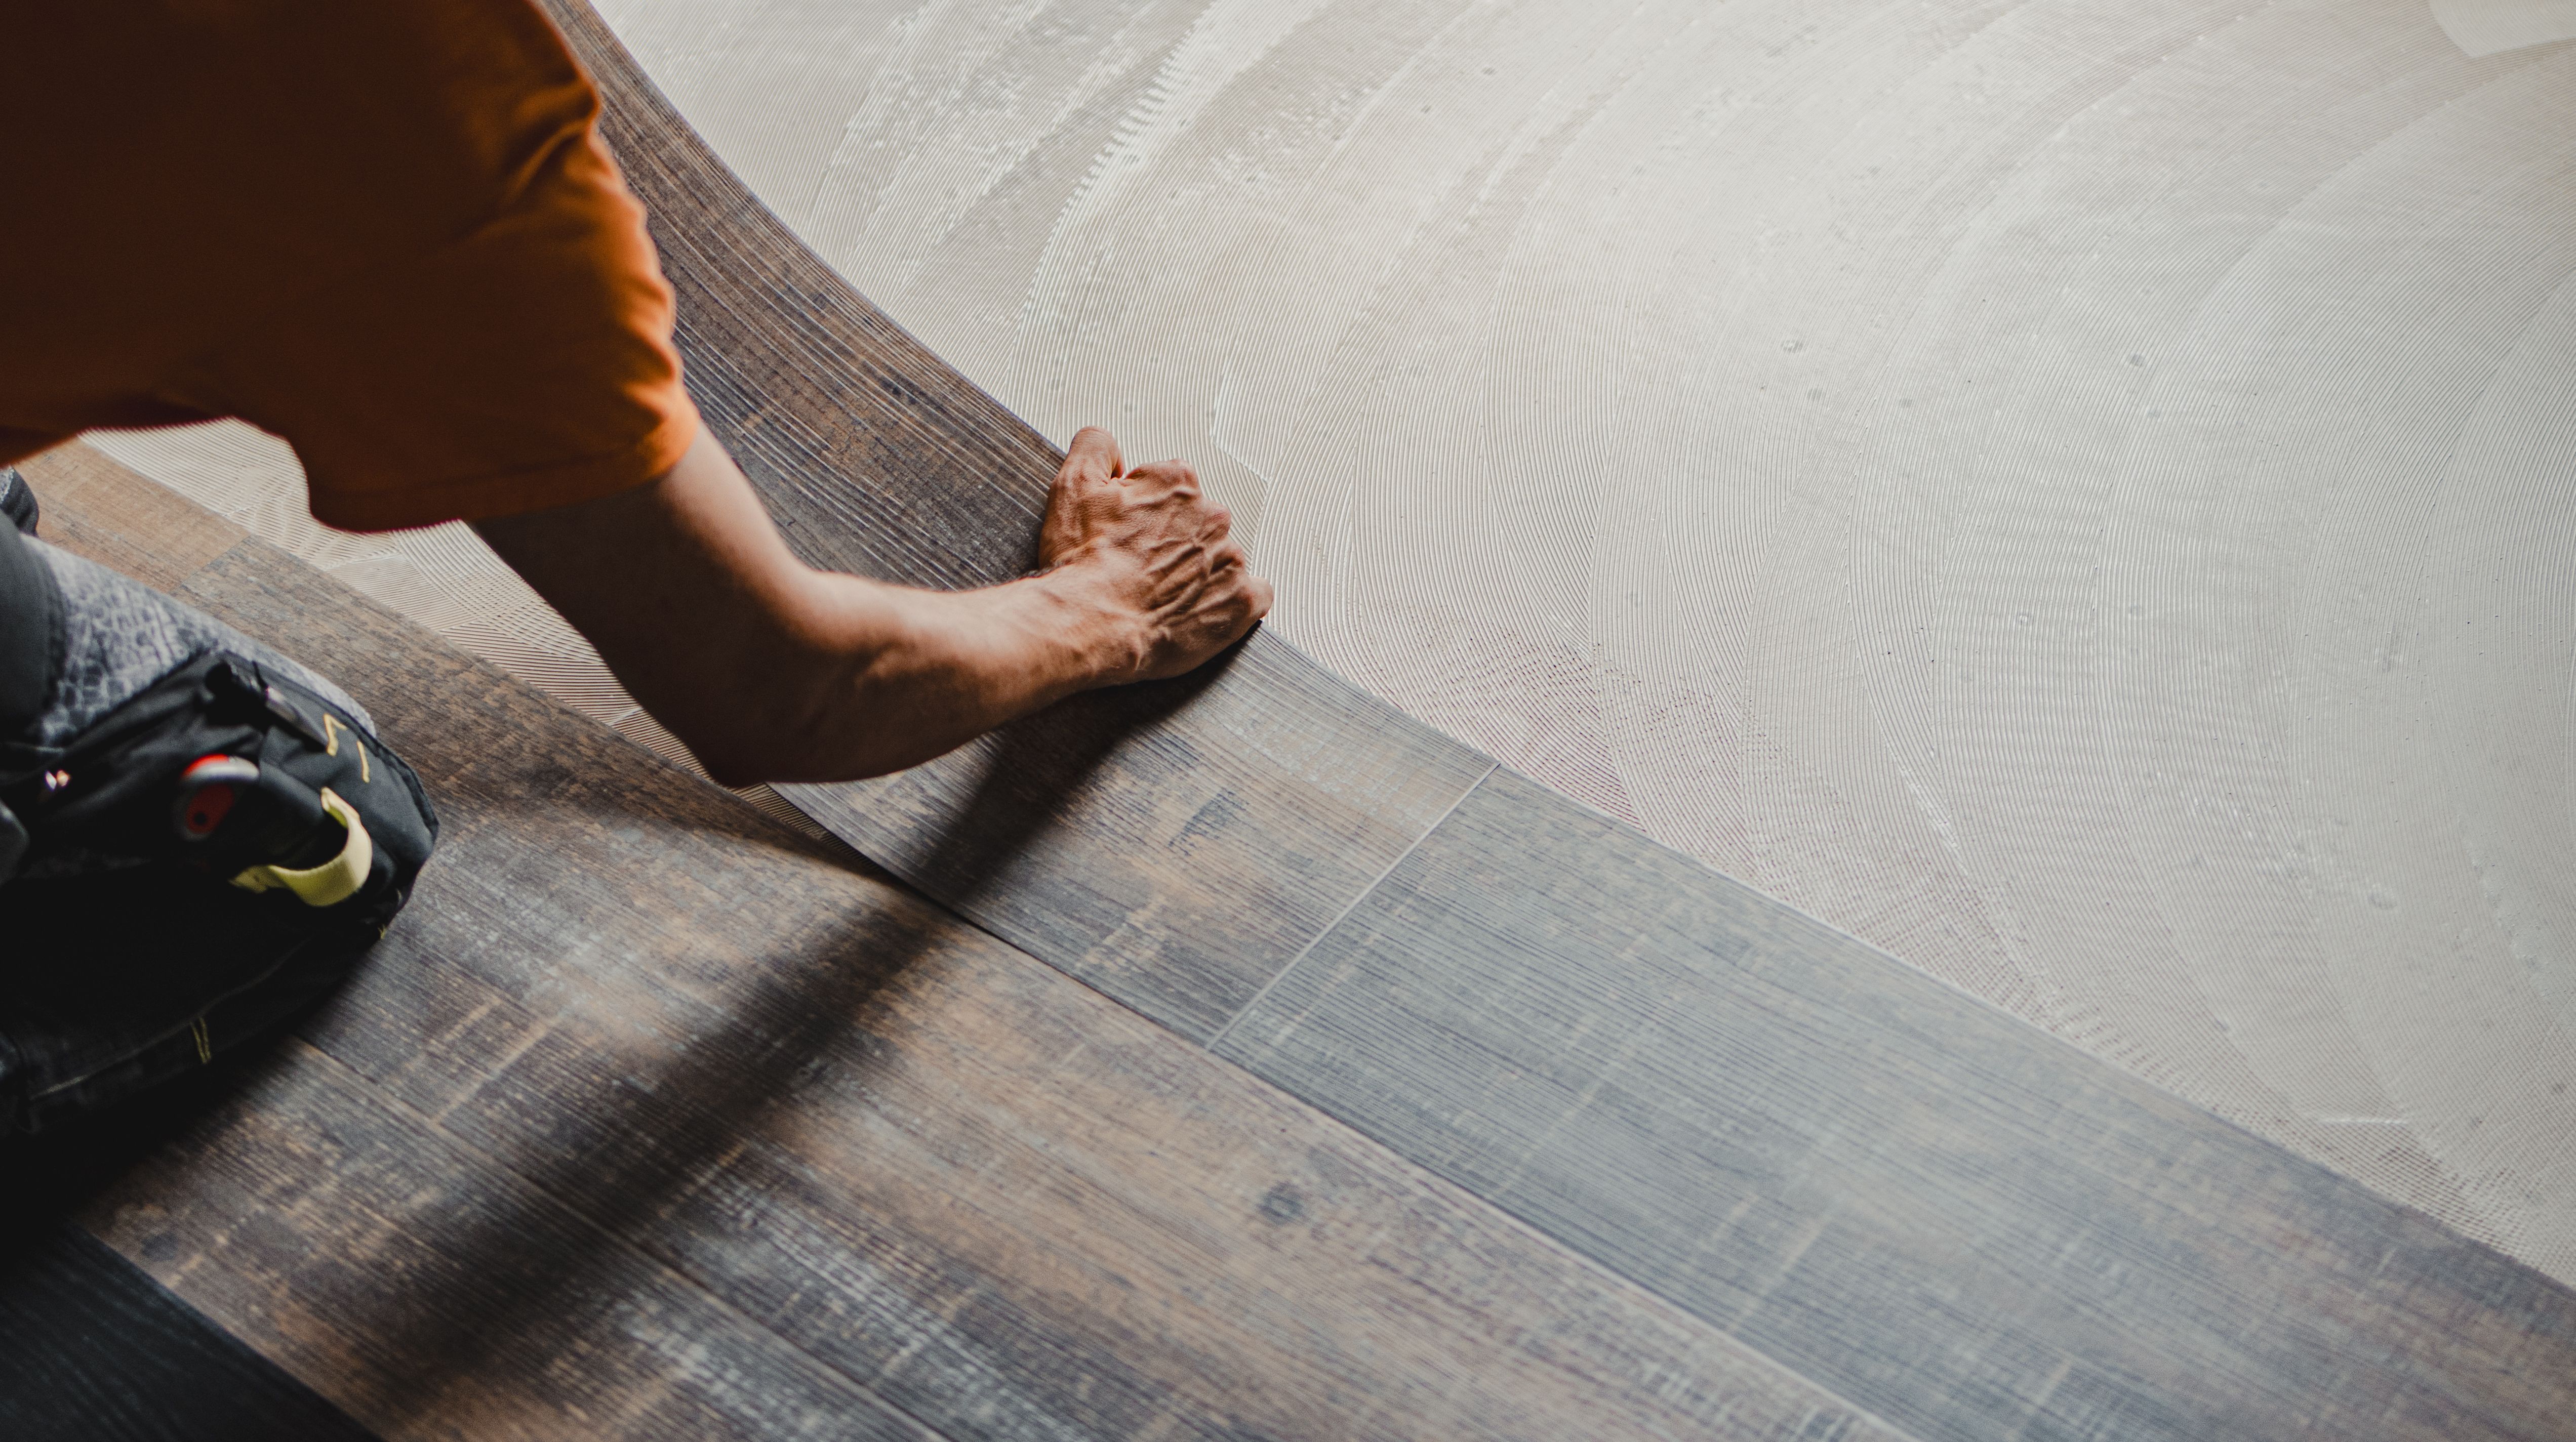
Laying the Flooring
Now it's time for the main event: laying your new flooring. Begin in one corner of the room and work your way across. For hardwood and laminate, use spacers to maintain an even gap between the wall and the flooring, allowing for natural expansion. For tile, start by laying out a dry run to ensure the pattern is correct before applying adhesive.
Making Adjustments and Finishing Touches
As you lay the flooring, you may need to make adjustments around corners, doorways, and other obstacles. Use a saw to cut the flooring to fit these areas precisely. Once the flooring is in place, remove spacers and install baseboards or trim to cover expansion gaps and give the room a polished look.
Cleaning Up and Inspecting Your Work
After installation, it's crucial to clean up any debris or adhesive residue left on the flooring. Use a soft broom or vacuum to remove dust, and a damp mop for a thorough clean. Inspect the entire floor to ensure all pieces are securely in place and there are no visible gaps or imperfections.
By following these steps, you can confidently tackle a flooring installation project and enjoy the satisfaction of a job well done. Remember, preparation and attention to detail are key to achieving a beautiful, long-lasting floor.